Product Description
Details
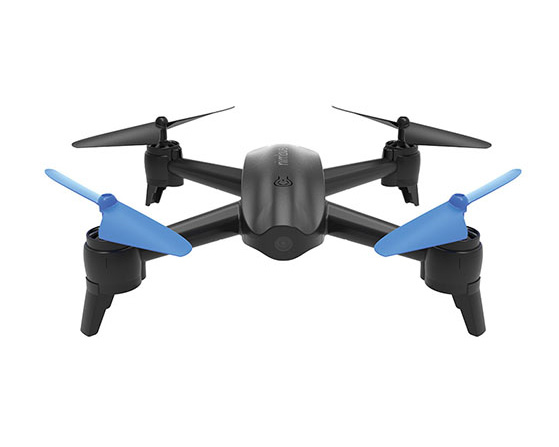
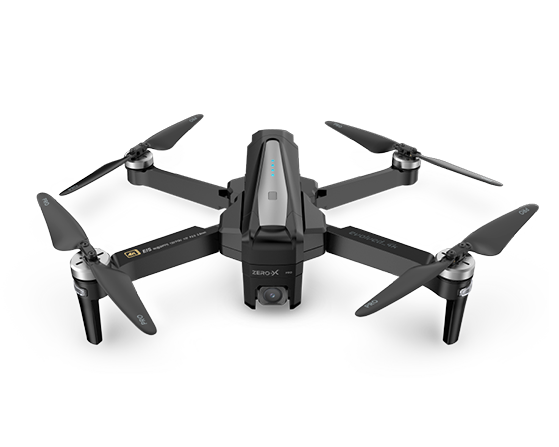
ZERO-X SCOUT DRONE, Agility, speed + crystal clear visuals.
The Scout comes with a built-in 720p High Definition Camera, perfect for shooting impressive sweeping video and 2MP photos. Supported with an 80M controllable range and an 8 minute fly time, video recording opens up exciting new opportunities and possibilities.
Features
| 720P Resolution Capture crystal clear high definition video with the push of a button. |
|
| 80 Metre controllable range Fly the Scout 80 metres in any direction with unbroken recording capabilities. |
|
| 3 Speed Modes Multiple speed settings make flying easy to learn yet nimble. |
|
| Directional Lock Intuitive control from the pilots perspective and orientation. |
|
| 360 Flips Perform aerobatic flips in any direction with the push of a button. |
|
| 550 mAh Battery Allows up to 8 minutes of flight and recording on a single charge. |
Technical Specifications
Additional Information
| Battery Information | 550mAh |
|---|---|
| Tactile Controller | Included |
| Dimensions | 37cm x 37cm x 9cm |
| Camera | Yes |
| Resolution | 720P |
| LCD Display | Yes |
| Speed Modes | 3 |
| 360 Flip | Yes |
| Flight Time | 8 Mins |
| Range | 80M |
| Frequency | 2.4Mhz |
| SD Card | Up to 32GB |
| Power source | 550mAh |
| Product Dimensions (mm) | 370 mm x 370 mm x 90 mm (including rotor guards) |
| Box Content | Scout Drone 1 USB Wall Charger 1 Remote Control 1 Spare Rotor Blades 4 Drone Battery 1 Screwdriver 1 Drone Battery Charger 1 Manual 1 Rotor Guards 4 |
| Boxed Dimensions (mm) | 320mm (h) x 350mm (w) x 115mm (d) |
| Boxed Weight (kg) | 830grams |
Support
FAQ'S
Frequently Asked Questions
Got questions about our Zero-X drones and accessories? We might just have the answer you’re looking for in our FAQ’s below. You can also download our operational manuals on each drone product page. If you’re looking for more information, please feel free to contact us in the Zero-X control tower right here[TAL1] .
SCOUT
Q1: How do I connect my Scout drone to the remote control?
A1: Before attempting to set up your Scout drone ensure that the Scout drone battery is fully charged and new batteries have been installed into the remote control.
Do a complete check of your surroundings making sure there are no hazards in your vicinity.
Turn on the Scout drone’s power switch and place the drone on a flat, level surface facing away from you.
With the left thumbstick in the down position, turn on the power switch on the remote control.
Move the left thumbstick up to the highest position, and then return it down to the lowest position.
The Remote will beep indicating that the connection has been made, and you are ready for lift off.
Q2: Why is my Scout drone drifting sideways/backward/forwards?
A2: Your Scout drone may need to be calibrated.
To calibrate your Scout drone correctly make sure you are launching the drone from a flat, level surface.
Switch on the Scout drone and the remote control.
Make the connection between the controller and Scout drone.
Just before you take off, with the Scout drone still on a flat level surface hold the right thumbstick (Pitch/Roll) in the lower right diagonal position for 5 seconds.
The Scout drone will now be recalibrated.
To fine tune any drift further use the trimming controls on the remote control to balance any unwanted movement.
Before adjusting trimming settings make sure that the Scout is not being affected by any outside forces such as wind or drafts.
Q3: How can I get the best footage out of my Scout drone?
A3: We recommend using a class 10 SD card from a reputable brand. Better quality SD cards will yield better footage.


